Operating systems are composed of several different processes and services, each performing a specific task. Microsoft Windows 10 is one of those complex operating systems that uses these services and processes, which are monitored through the Task Manager.
In this article, we will discuss one of these processes that can be observed through the Task Manager, IPHLPSVC. Often, this process can be seen consuming significant amounts of memory and processor, but many do not know what it is for. If you are experiencing excessive resource utilization during the IPHLPSVC process, this post is for you.

Let us discuss in detail what this process is and how you can fix its unnecessary resource consumption.
Table of contents
What is IPHLPSVC
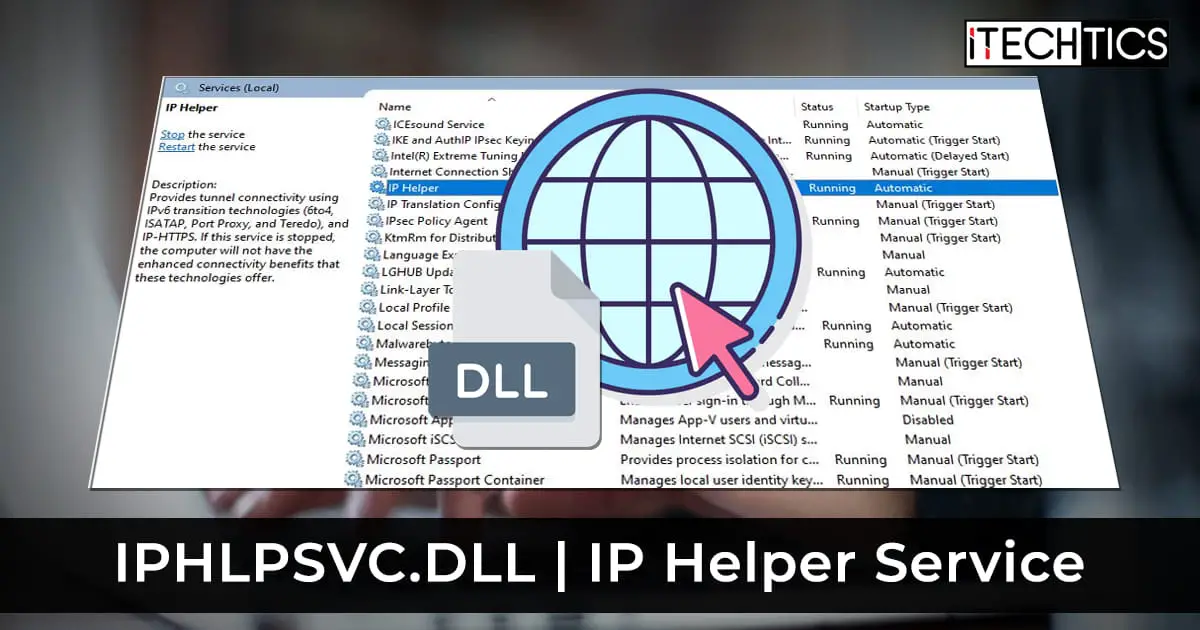
The IPHLPSVC, if you observe closely, is an acronym for Internet Protocol Helper Service. This is a legitimate service for Windows 10 running in the background whose function is to deliver the information requested by users regarding their network connection. This includes all information concerning the network adapter, IP addresses, subnets, etc. More importantly, IPv6 relies on this service to function normally.
Windows 10 users do not normally require this service. However, if you are a system engineer or a power user, you will definitely see this process running periodically from within the Task Manager. Here is what Microsoft has to say about the IP helper service.
The file responsible for running this process (IP Helper service) is called iphlpsvc.dll and can be found at the following location:
C drive -> Windows -> System32
Users have reported that occasionally this process takes up a significant amount of their system resources for no apparent reason and slows down their computer. We have discussed a few ways you can mediate this issue further down the article. However, since the solutions include disabling the service entirely, it raises the concern of whether it is safe to do so or not.
Is it safe to disable IPHLPSVC?
As we mentioned, the IPHLPSVC is required to obtain information regarding the network connectivity on your device and if you are using IPv6. However, if you do not need to perform these tasks on your device, you may disable the IP Helper service and it will not affect your system in any way.
Also, if you do disable the service altogether, you can still re-enable it if ever required in the future.
To sum up, yes, it is safe to disable IPHLPSVC if you do not need to be on your device. All standard network protocols and services will keep functioning normally after disabling this service.
Fix IPHLPSVC high memory usage in Windows 10
There are several ways to fix the high memory of CPU utilization by IPHLPSVC in Windows 10. Let us start by restarting the IP Helper service and then check if it resolves the problem.
Restart IP Helper service
There are 2 ways to restart the service. One is through the Services window and the other involves using the command line.
Restart IP Helper service through Services
To restart the service using the Graphical User Interface (GUI) in Windows 10, open the Services window by typing in services.msc in Run. From there, right-click IP Helper service and click Restart from the context menu.

The service will now restart in a few seconds. Check to see if the IPHLPSVC process is still taking up significant amounts of system resources.
Alternatively, you can also reboot the service using the command line.
Restart IP Helper service using command line
To restart the IP Helper service using the command line, launch the Command Prompt with administrative rights and then type in the following command to stop the service:
net stop iphlpsvc
The service will now stop. Reboot the service by entering the following command:
net start iphlpsvc

If this does not resolve the problem, try disabling the service (if you are not using IPv6) as it is entirely safe.
Disable IPHLPSVC (IP Helper) service
Disable IPHLPSVC using Services
You can use the same Services window to disable the service permanently. Don’t worry, it can be enabled manually in the future if needed.
To disable IPHLPSVC using Services, launch the window by typing in services.msc in Run. From there, right-click the IP Helper service and click Stop from the context menu. This will temporarily stop the service. To disable it from running again automatically, right-click it again and this time select Properties from the context menu.
In the Properties window, select the Startup type to be Disabled from the drop-down menu. Click Apply and Ok when done.

The service will now be disabled and you should no longer see the process running in the Task Manager, freeing up any system resources.
If you want to re-enable the service, simply return to the same Properties window and select Automatic from the drop-down menu.
Disable IPHLPSVC from Registry Editor
You can also disable the service from the Registry Editor. However, before proceeding forward with the process, we recommend that you create a system restore point as incorrect configurations of the system registries could turn fatal for your OS.
Launch the Registry Editor by typing in regedit in Run and then paste the following path into the address bar at the top for quick navigation:
Computer\HKEY_LOCAL_MACHINE\SYSTEM\CurrentControlSet\Services\iphlpsvc
Now double-click Start in the right-hand pane. In the pop-up dialog box, select the Decimal radio button and then type in 4 under Value Data. Once done, click Ok.

Now restart your computer for the changes to take effect. When you return you will notice that the IPHLPSVC process is no longer running in the Task Manager.
If you wish to resume the service in the future, simply return to the same location within the Registry Editor and change the Value Data back to 2, and reboot the computer.
Closing words
Quite often some corrupted system files can also cause some processes to consume more system resources than usual. If that is the case, you can also try installing any pending Windows updates, or perform a System File Checker (SFC) scan.